Document Actions
gvSIG-Desktop 1.1. Manual de usuario.
To create a “View” in gvSIG go to the “Project Manager” window (“Show” menu / “Project window").
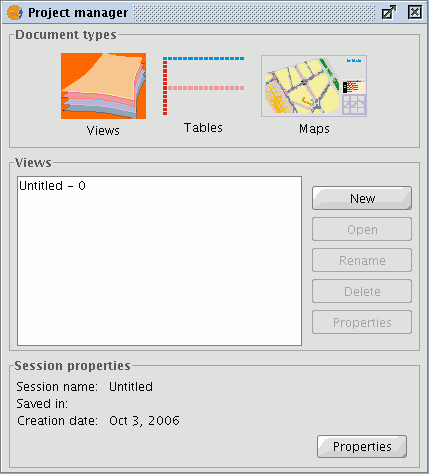
Project manager
- 1. In the “Project manager” window, select “Views” in the document type.
- 2. Then click on the “New” button.
- 3. A document in “Views” is created (immediately) which by default is called “Untitled - 0”.
- 4. The name of the “View” can be changed by selecting the document from the list and clicking on the “Rename” button. A window appears in which the name of the “View” can be changed.
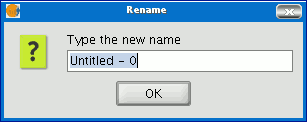
Rename View
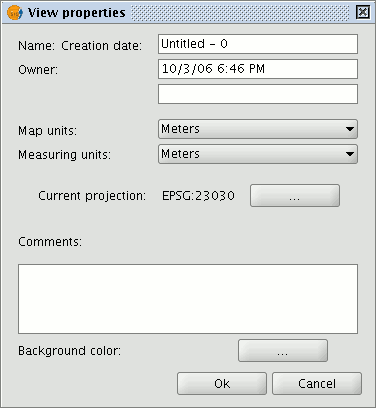
5. To access the “View properties” window, click on the “Properties” button.
- 5.1. It is important to select the cartography units and the distance units for the “View”. Their default values are expressed in metres.
- 5.2. The “View” background colour can be configured. It is white by default.
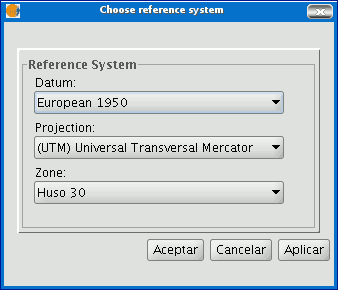
- 5.3 From gvSIG version 0.3 onwards, the “Views” support different projections and reference systems. You must select the reference system the cartographic information is to be displayed with.